ProWalker GPU Tutorials and Case Studies
ProWalker GPU Interface and UI
Currently the best way to learn the ProWalker interface is to read these two pages of the documentation:
- Main ProWalker GPU interface
- ProWalker GPU animation interface
- Rendering workflow introudction/overview (Video) - Part of a longer video about bathroom visualization.
Note - If you are using ProWalker GPU without having used SU Podium in the past, you will need to learn how to use the SU Podium materials and lighting interface to create artificial lights (omni lights, spotlights, light emitting materials), and edit material properties (reflection, transparency, bump).
Still Rendering in ProWalker GPU
- ProWalker render modes
- Quality settings - What are samples?
- How to save/export a still render
- Batch rendering with ProWalker - Rendering multiple scenes at once
- How to render with a solid background color - For studio/product rendering
Creating animations in ProWalker GPU
As mentioned above, if you are not acquainted with th ProWalker animation interface, this page is the best place to start: ProWalker GPU animation interface
The following tutorials demonstrate specific topics in animation:
ProWalker GPU - Project breakdowns

Modeling and rendering a bathroom
This case study walks through the creation of a bathroom image with SketchUp and ProWalker. The first half of the video is focused on modeling tips and best practices, while the second half explains how to add materials, light sources, and render the model with ProWalker GPU. Watch it here

Snowy winter cabin
In this project breakdown tutorial we work through the creation of an A-frame cabin surrounded by snowy terrain and Christmas decorations from Podium Browser. The video covers three methods for creating snowy terrain, then we decorate the cabin, render the image with ProWalker GPU, and post-process with Photoshop.Watch it here
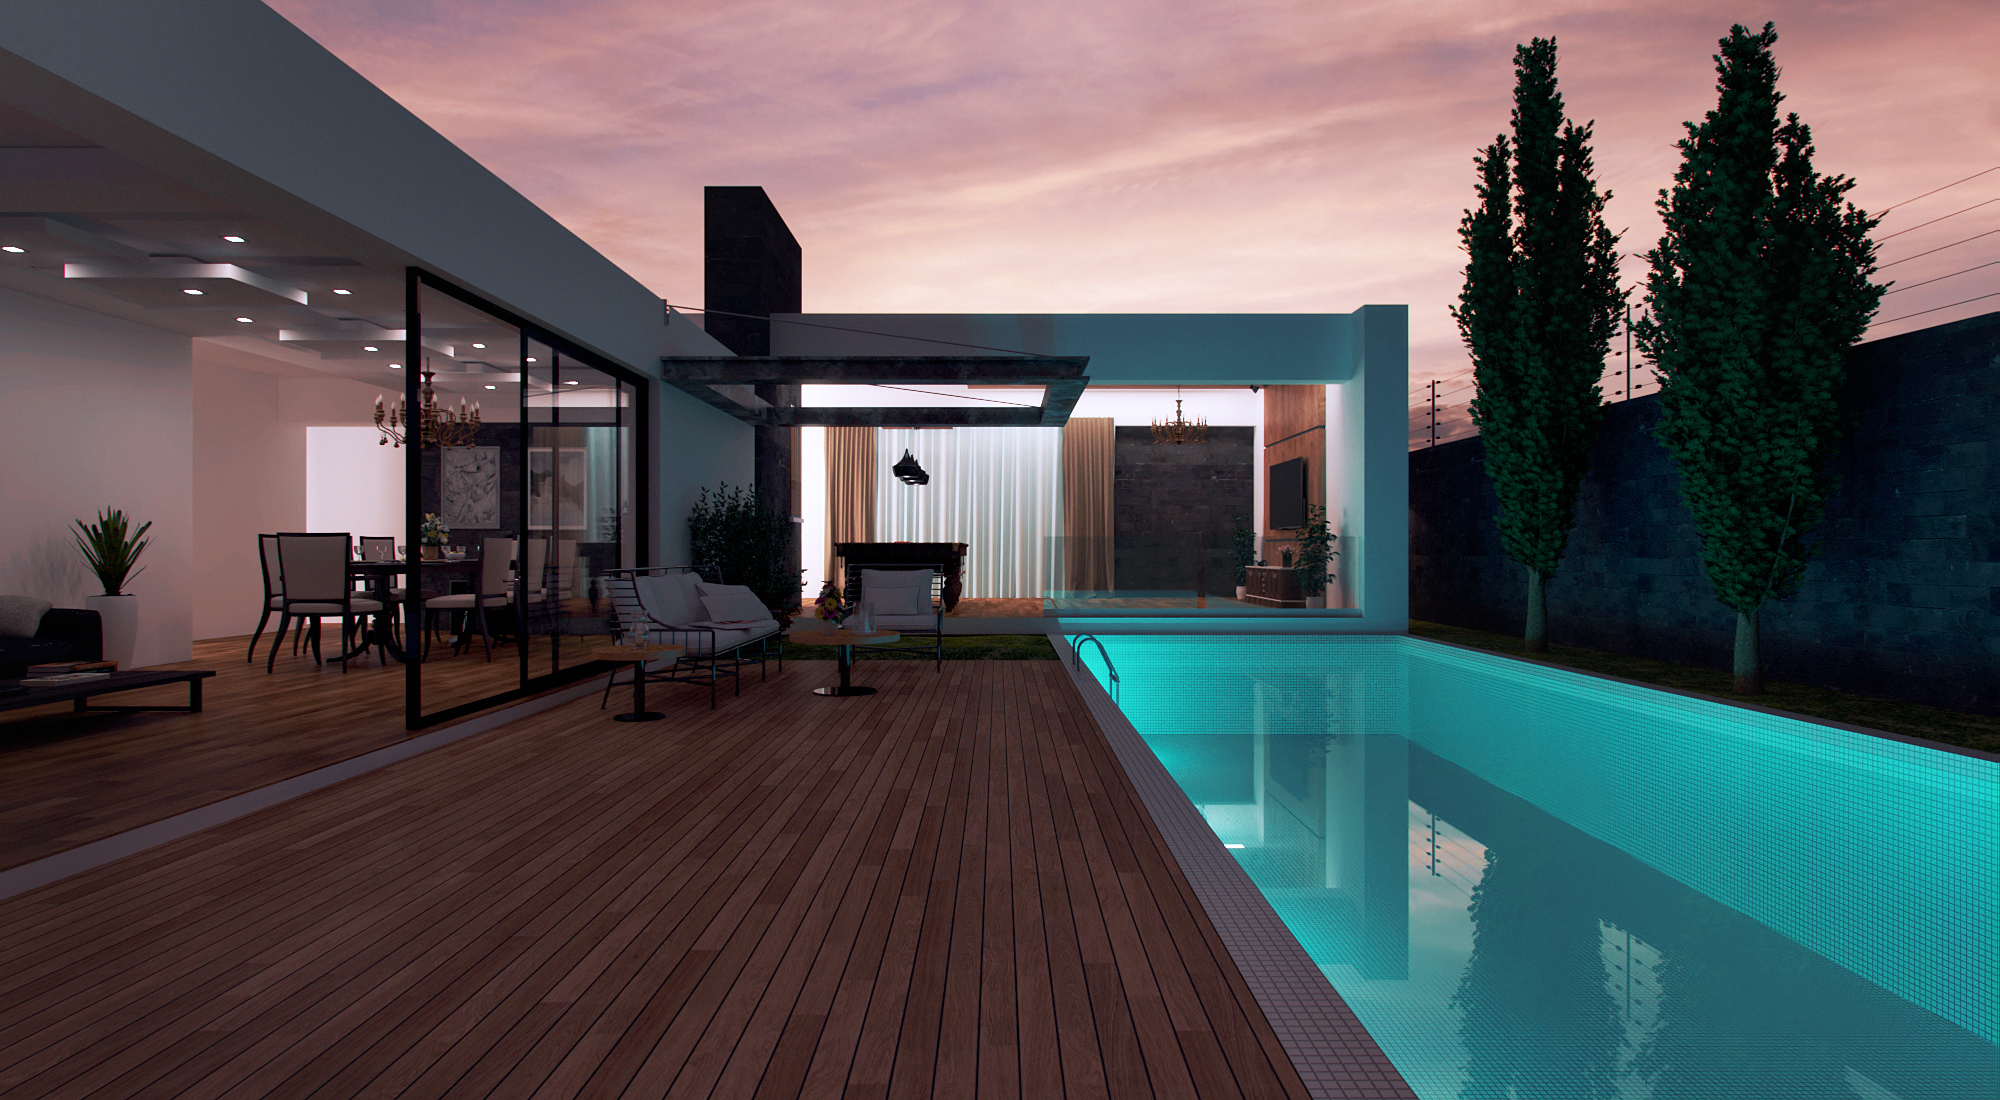
Poolside exterior at sunset
This case study walks through the creation of the pictured image. We cover start by furnishing the scene with Podium Browser, then explain how we set up the materials, lighting, render, and post-processing. The breakdown concludes with a simple fly-through camera animation. Knowledge of the ProWalker interface is assumed. Read here
Miscellaneous
Line overlay tutorial
These two videos demonstrate how to create a line-overlay from SketchUp so that the edges precisely match your ProWalker GPU render.
- Line overlay with ProWalker GPU - Part 1 (What not to do)
- Line overlay with ProWalker GPU - Part 2 (Correct procedure using Eneroth viewport resize)
