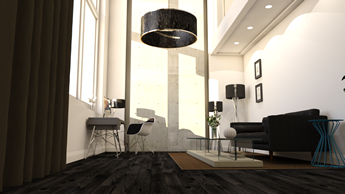
ProWalker GPU - Denoise feature
Denoise improves the "real-time" responsiveness of ProWalker, using predictive noise-reduction to render video or still images up to five times faster, while retaining the high quality of Iray pathtracing.
- Denoise is a new NVIDIA Iray AI algorithm that dramatically speeds up high quality visualization by accurately predicting the final rendered frame and removing noise. Denoise applies deep-learning and AI alongside Iray's predictive path tracing to eliminate noise while preserving sharp edges and texture detail, at far lower sample counts. Denoise can accurately predict what high-quality should look like four or five times faster than before.
- Interactive photo-realistic visualization with SketchUp: With Denoise applied, anyone with even a single Nvidia GPU can move around the ProWalker/SketchUp scene in near real-time speed. This is very effective for cacluating the best camera angle for a still image or for deciding on the best keyframe path. Read about recommended hardware for ProWalker here.
Still image output:
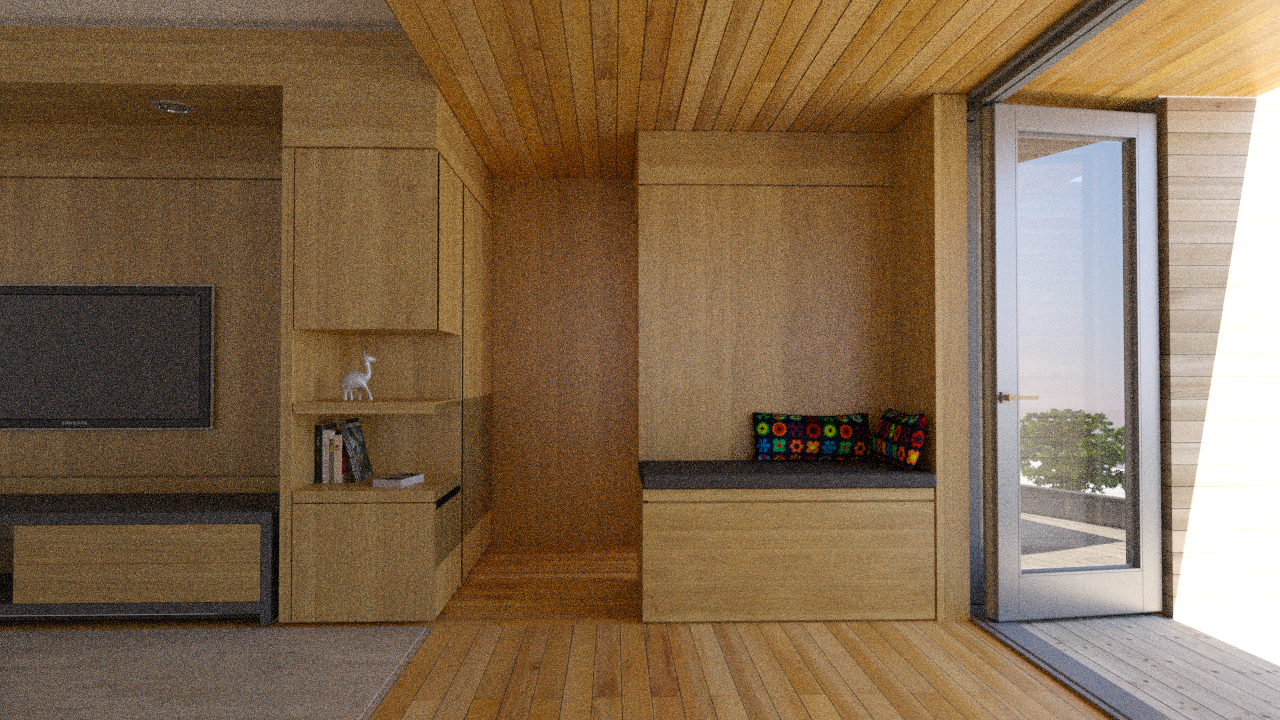
Rendering high quality, photo-realistic still images is faster than ever. The first comparison below was rendered on a Notebook version of the GTX 1070, using highest quality PR mode with 300 samples. Render time was less than 3 minutes. Use the slide bar to compare what the same image looks like without Denoise.
Comparison 01 - PR Mode, 300 samples - Even at a low sample count, the difference in results is very vivid. At 300 samples the non-denoise image is extremely noisy, and would not be usable in a finished presentation. With denoise turned on, the image is much cleaner and most edges are clearly defined.
Slide to compare: Left - Without denoise / Right - Denoise applied
Render Time: Less than 3 minutes on GTX 1070
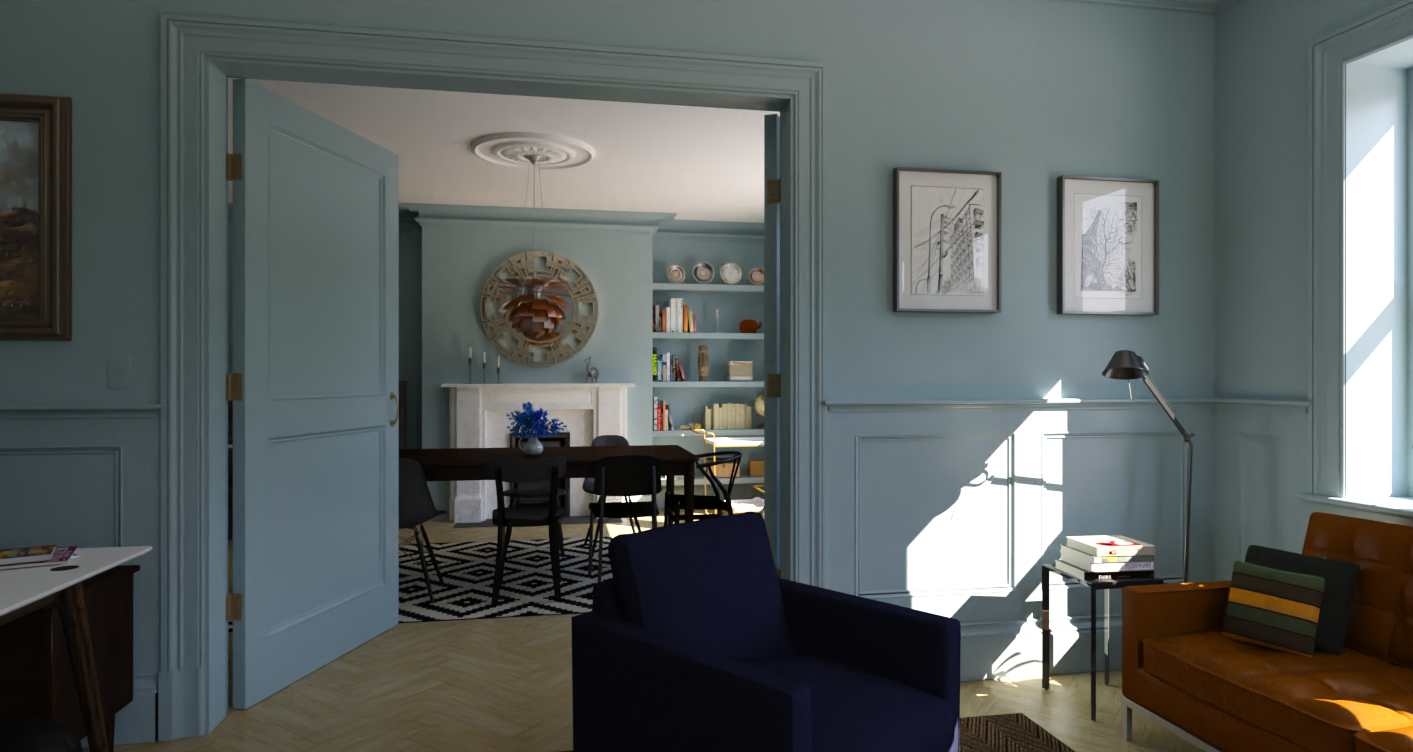
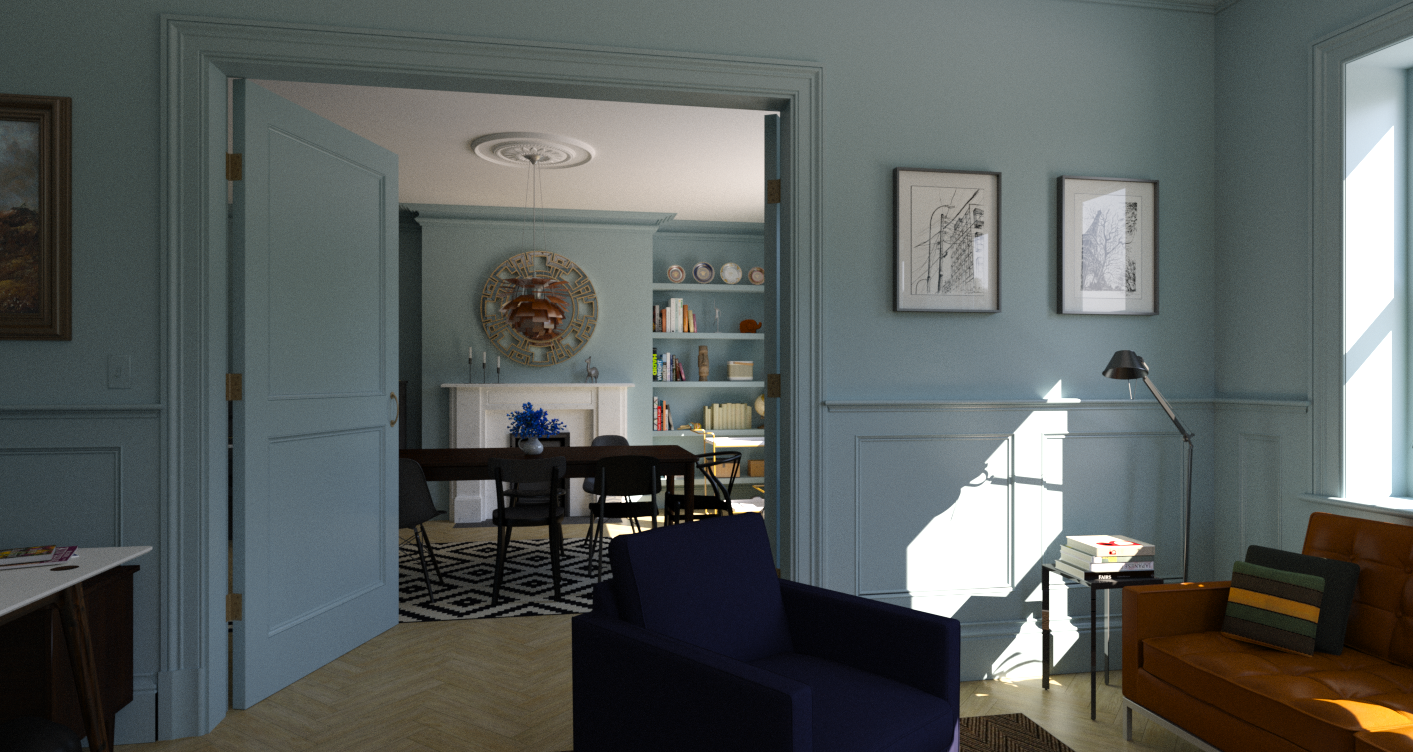
Comparison 02: A second comparison demonstrates how much faster we can arrive at a finished result when denoise is turned on. Both images are at a high level of finish, however the example with denoise was produced about 5 times faster.
Slide to compare: Left - 7000 samples without denoise / Right - 1200 samples with denoise applied
Here we're comparing 7000 samples in PR mode with Denoise turned off (left), versus only 1200 samples with denoise (right). The difference is much subtler, but keep in mind that we have let the non-denoise test calculate over 5x as many samples
Even at 7000 samples, there is still noise present in the original image. Using denoise at 1200 eliminates the noise entirely, and the only remaining issue is "softness" in some of the fine details. If necessary, we could double the samples to ~2400, and our image would still be finished two or three times faster than without denoise.
Video Output:
Using Denoise, creating high quality, photo-realistic walk thru videos requires much less GPU hardware. Click on the below inages to view the video animations that employ Denoise.
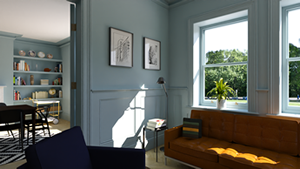
JWood's awarding winning house. The animation uses PR Mode and 1,000 samples with Denoise on. Video output time 6 hours, 41 minutes. About 5 times faster than no denoise.
How to use Denoise
![]()
- For moving inside a ProWalker scene (visualization) Select the Render mode and Denoise icon so that they are both on. Also select the sample rate from the Gear icon. Now when you move about the scene Denoise will be applied and will reduce noise automatically.
- For still images. Select the Render mode and Denoise and then select the Camera icon to choose the image resolution and save location. Denoise will be applied after the rendering has been complete.
- For Video output. Select the Render mode and Denoise icon so that they are both on. Make sure you have set up a keyframe animation path. Select the path and movie output as you would to create any ProWalker video. Denoise will be applied after the video output has been completed. Keep in mind, you can lower the sample rate by 4 or 5 times to get similar raytracing quality.
Important - Update your GPU Driver: Denoise works with NVIDIA Pascal, Maxwell, Quadro, and Teslas GPUs. But please update to the newest driver NVIDIA has released for your GPU. Denoise will not work with some older drivers.

